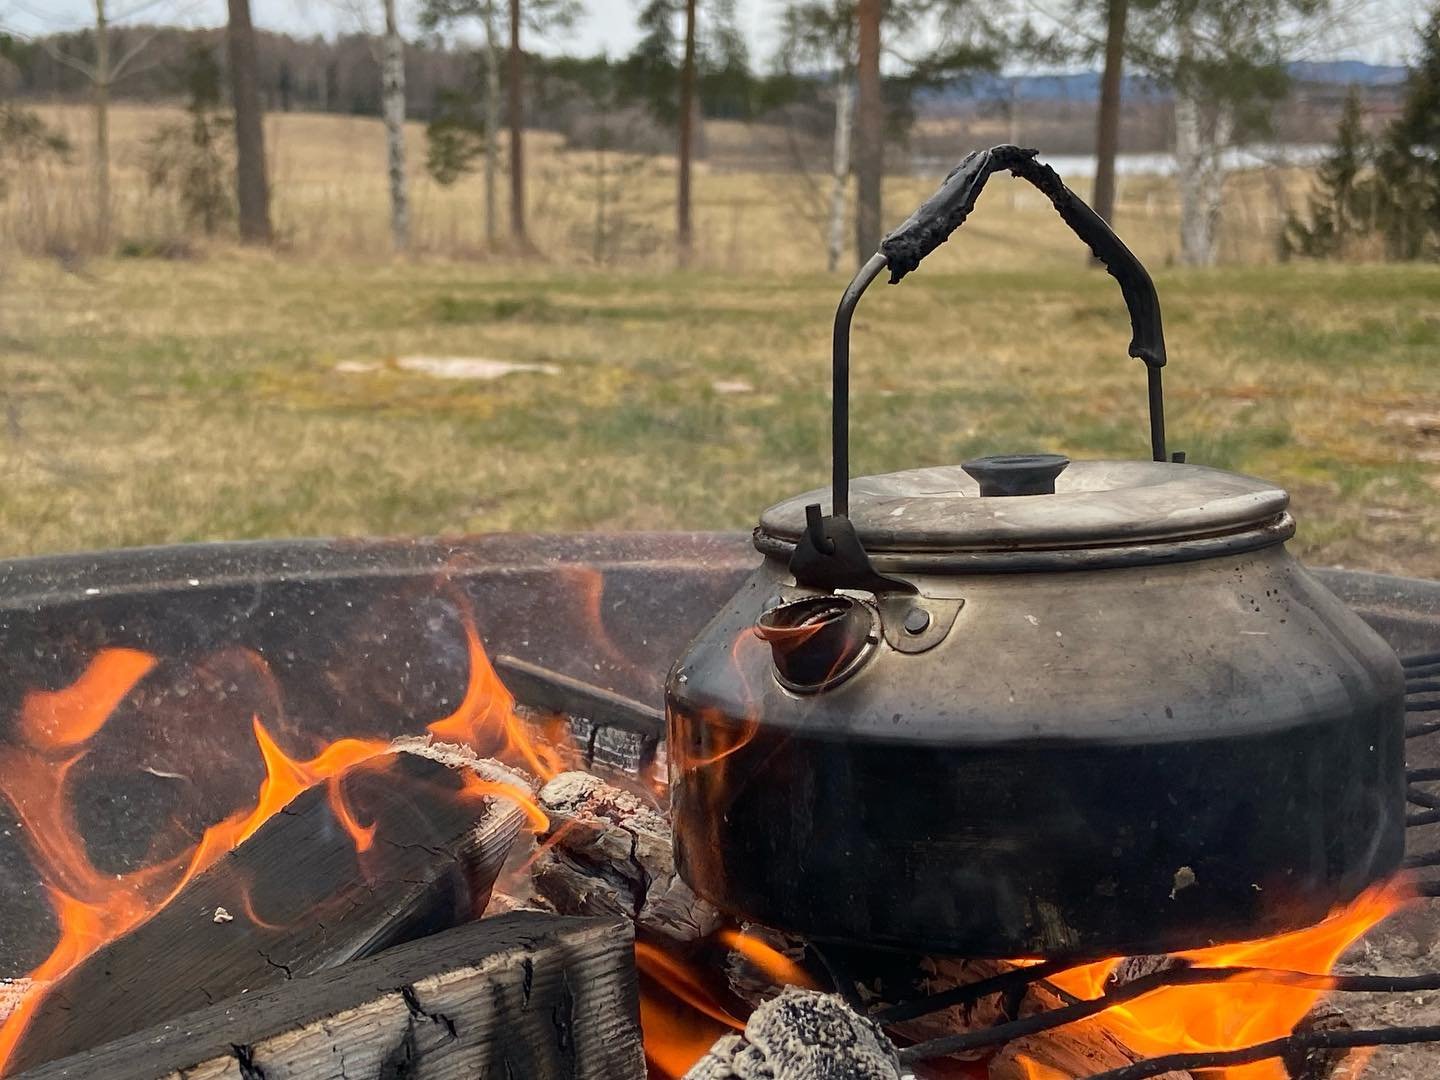
If it’s a good weather morning and I feel the need for some energy for some roundabouts and exercise, I make a regular coffee from scratch over the fire.
And if I’m not feeling up to it, I simply boil water and add one of my favorite coffee packs to my travel mug.
Everyone has their own secrets for making camping coffee, which I have attempted to share through various methods or recipes here.
Method 1: The Simple Cowboy Coffee
This is a classic, no-gear method that avoids adding extra weight and space to your backpack checklist.
Get grounds in an airtight packet or container. You can use your cookset pot, boil enough water for the coffee (you can directly boil grounds in water and let them settle).
Stir the grounds, remove the pot from the heat, and let it sit for 5-8 minutes. Most grounds settle to the bottom, but if you find anything left floating, gently push it under with the round side of a spoon. This helps coffee sink properly.
I recommend you add a splash of cold water to help your coffee grounds sink.
If not, you can gently pour the coffee into your cup without disturbing what’s left on the bottom. It takes some patience, but eventually you can get a great cup of coffee without any floaties.
Method 2: Instant Coffee
The name says it all, and it’s perfect for ultralight backpacking or as a backup. Those who run in a hurry every time, or sometimes, you don’t have the flexible time to brew coffee while camping, can try this.
I know you’re visualizing some instant coffee packets and bags from Starbucks Via or Java House.
You can boil your coffee on your camping stove and pour through the reusable filter into our cups. I don’t find it’s different than what comes out of a regular coffee pot.
But many complain about it, saying that they get a headache every time they take instant coffee.
Put the ground in the cup or mug, pour hot water on those grounds, stir with a spoon, and you’re ready to sip.
So you don’t need any gears or a filter to mess with at all. If the grounds are so fine, they need not be packed out. So, I find it a lightweight and space-friendly way to prepare coffee.
Method 3: The French Press
I feel therapeutic about making coffee in the morning. When you wake up to the sounds of nature outdoors and the cool, crisp air, gathering your thoughts becomes more enjoyable. It makes more sense to spend more time in this serene environment.
And fresh press can add a more robust flavor and simplicity in making coffee. The instructions are very familiar to many, and it makes it comfortable for car campers.
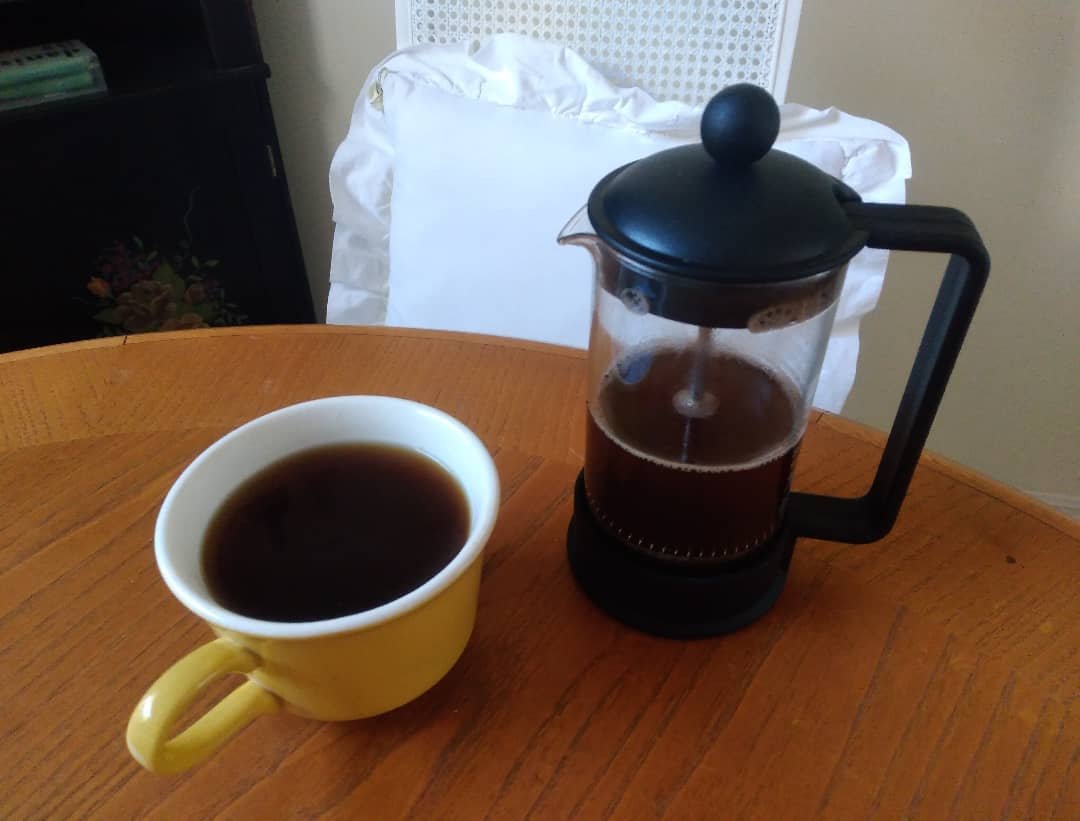
You will need a kettle or boiling pot, a French press (choose durable, stainless steel, or camping-specific ones), a tablespoon, and a cup. I recommend you bring coarse or medium grounds.
To get started, boil water and add a few measured spoonfuls of coffee grounds to the French press (you can use one teaspoon of grounds for 4 ounces of water).
After cooling for a minute, pour water into the press and stir it well, close the lid, and wait for a few minutes (4 or 5 minutes will be enough). There, you finally press the plunger slowly to the bottom and pour a nice tasting coffee in the cup.
Many people put grounds in the press after they’re done drinking coffee and allow them to sit overnight. This helps you make a refreshing cold brew in the morning.
Method 4: The Pour-Over
What’s easier than pouring hot water into the filter cone, and then it’s ready to have a cup of coffee?
Bring water to boil, place the filter (paper filter cone) in the dripper on the cup or mug, add coffee grounds, pour over the hot water to bloom (first splash of water to bloom and drop the rest in the spiral motion). Finally, you remove the dripper and enjoy the coffee.
It has a clean taste profile and doesn’t need much gear, only compact tools like GSI Ultralight Java Drip or Snow Peak Titanium Coffee Dripper.
Those who appreciate ritual and clarity prefer this way of coffee making. Many need a gooseneck kettle and measuring cup to pour the water for a better result.
If you’re a solo camper or a couple, a pour-over can be a good option. If you’re group, then you need to switch to a French press or find another way.
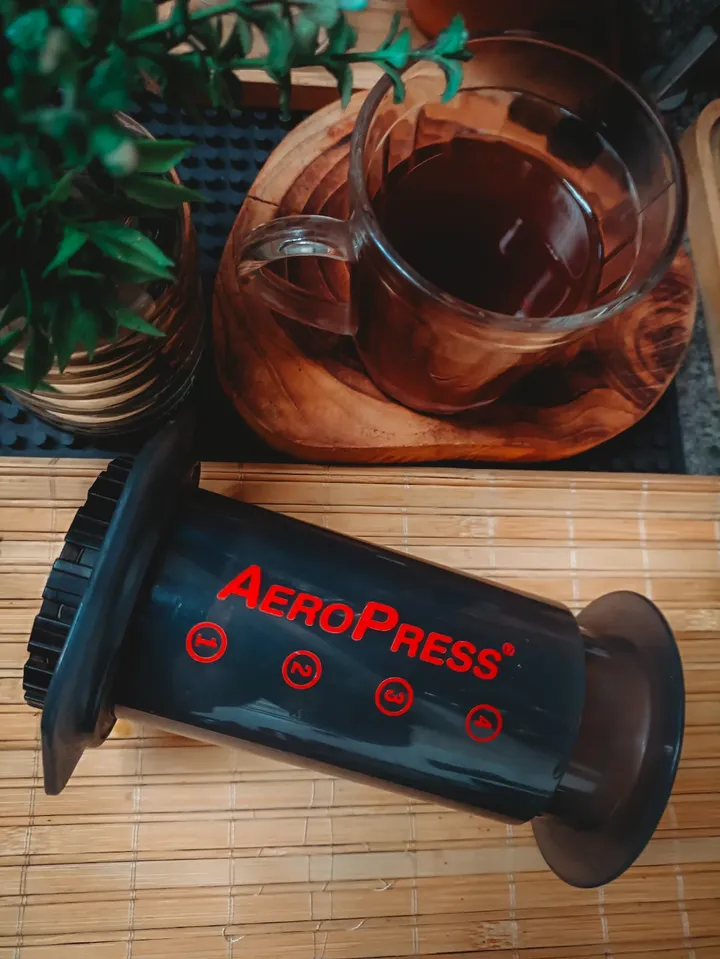
Method 5: The AeroPress
Though beginners find it a bit complicated than other methods, it’s been a fan favorite. It has dual methods, including standard and inverted, which help you make a strong, espresso-like concentrate or a regular cup.
The AeroPress has a nearly indestructible build, is lightweight, and supports all camping styles.
Then, you need to throw only one small disc of paper and the coffee grounds, and this relieves the outdoor explorers while cleaning.
Those who are coffee lovers might have a dream setup that typically includes the AeroPress, whole-bean coffee, a hand grinder, a 16-oz Ball Mason jar, and a couple of rubber bands for added grip.
To make it, start with boiling water and set your AeroPress. Just pull out the plunger and put the cap with the filter in the chamber. And place the chamber on the sturdy cup or mug.
Add the grounds to the chamber and level it by tapping on the AeroPress. Now, pour warm water to one mark of the side inside the chamber. You can also use room temperature water for cold brew, just in case.
Next, stir the coffee to ensure even exposure to the grounds. Finally, insert the plunger into the chamber and press gently. Pause when you feel resistance or find it hard to press until the plunger touches the grounds.
Eventually, you’re ready to remove the AeroPress from the cup and enjoy your coffee.
It can make a single cup at a time, so if you want even to share it with your friend or partner, you need to repeat the whole process for each cup.
Method 6: The Moka Pot
The moka pot is slightly larger and heavier than aeropress, which is suitable for motor and car campers who need a caffeine jolt, not for ultralight campers.
But it produces the rich, strong brew similar to stovetop espresso. To make it, you need a stable heat or flame, and if it overheats, you’re gonna get a bitter taste.
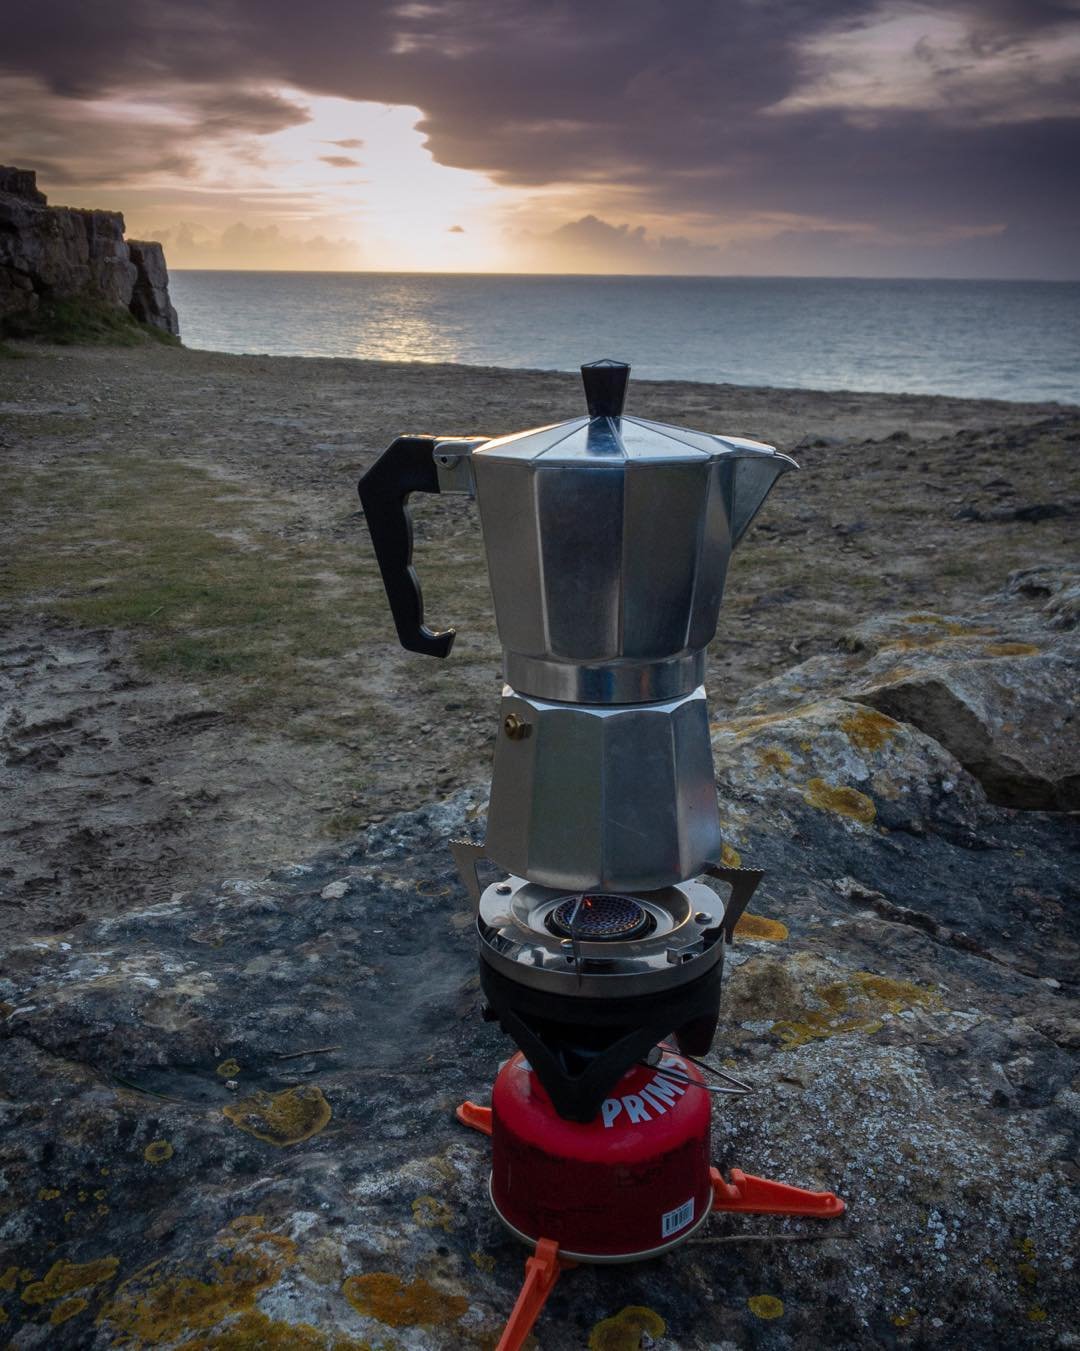
If you’re thinking of placing it over the direct campfire flames, it could suffer from the unusual height of the fire, and you don’t want to engulf your moka pot.
So, a possible solution would be to position the pot over the red coal after the campfire is low. Always place the pot on the grate grill and wrap the pot bottom with aluminum foil to save its beauty.
To make this stovetop coffee, start by boiling water (for this, pour some water into the bottom chamber and fill it up just above the valve). Load some grounds into the funnel tank and ensure it disperses evenly to the brim.
The funnel goes inside the water container or heating vessel, and you’re ready to install the upper chamber with the top lid open. This allows you to see the extraction and control the flame and keep medium heat.
When it starts extracting, lower the heat so it gets an even flow. To do this, lift the Moka pot slightly off the heat and adjust as needed.
Then, you see it start spluttering, meaning you need to remove it from the heat and wait for a few minutes to cool it down (it takes a bit longer to cool) before pouring the coffee into your cup.
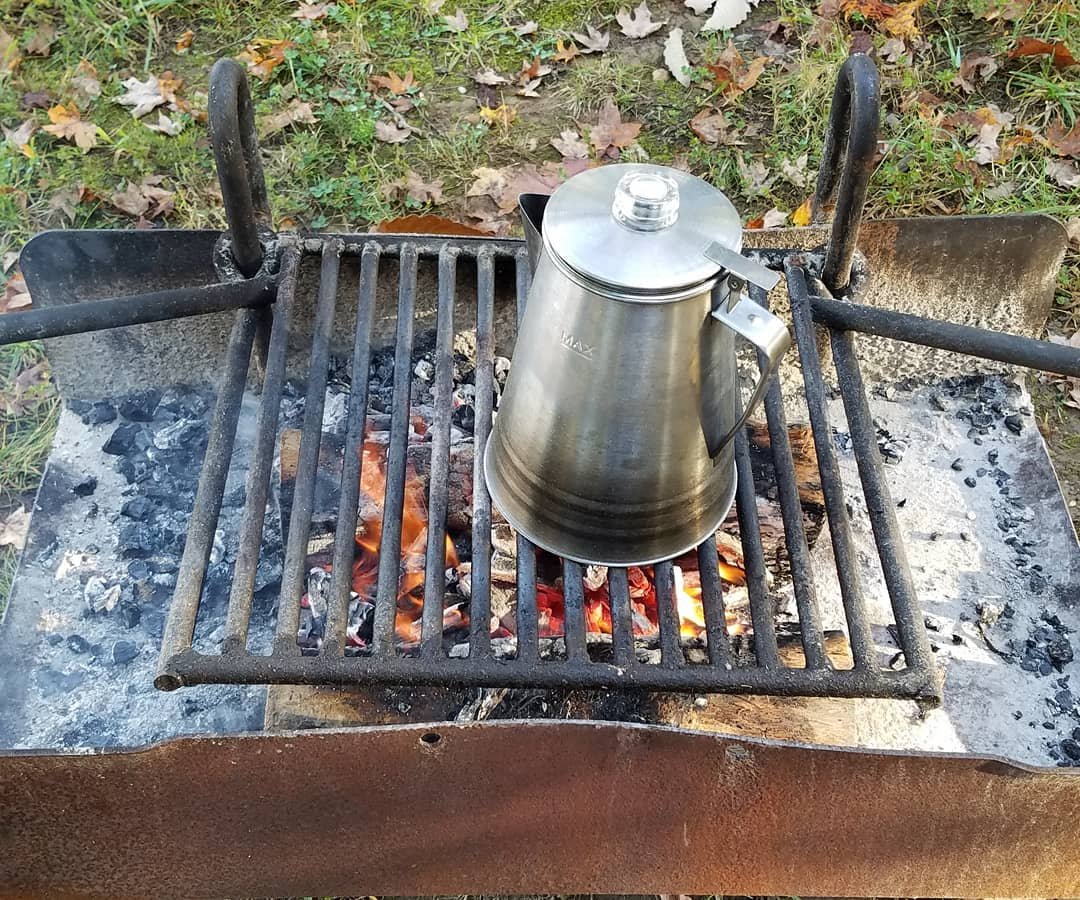
Method 7: The Percolator
What to Write: Play into the nostalgia and communal aspect. The sound of a percolator bubbling over a fire is camping for many. Explain the process, but note the common drawback: it’s easy to over-extract and get a bitter brew. Provide tips to avoid this (e.g., watch the time).
It’s kind of old-school coffee-making, which can lead you to nostalgia when you see your grandma handling it over the stove. And in the rustic environment, the sound of a percolator bubbling over a fire creates a more memorable moment for campers outdoors.
You can make it in two ways: the bubbles in the glass top have a nice and correct brown color, or you simply sniff it for a pleasant coffee smell.

Just pour some water into the pot below the basket. Don’t worry; there is a proper indication to show the water level mark in the pot. Put coffee grounds in the basket (2 tsp of regular grounds for each cup of water).
You don’t need a filter until you get pre-ground from the store. I often fill my percolator kettle about 2/3 full of water, and fill the basket almost to the top or brim with coarse grounds.
Then, you need to place it on a heat source and turn it way down, or move it to the side of the fire when you see it start boiling. Only simmer or slightly boil.
Finally, you remove it from the heat and let it sit for a minute. Some grounds may escape from the basket, so you need to allow them to settle at the bottom before pouring.
Final Thoughts
Coffee lovers have their own favorite set of coffee-making ways, but they can switch to others depending on what type of camping they’re having.
What I think, instant coffee is good for backpacking and hiking, a collapsible pourover for static backwoods camping, and a French press for car campers.
Leave a Reply