There is nothing more satisfying for campers than enjoying the smell of food sizzling over a campfire after a long day of hiking or other fun activities.
For me, the roasted fruits, grilled fish, and meat are heaven around the fire.
So, I’m going to share 10 tried-and-tested campfire cooking tips to make meals easier, tastier, and safer.
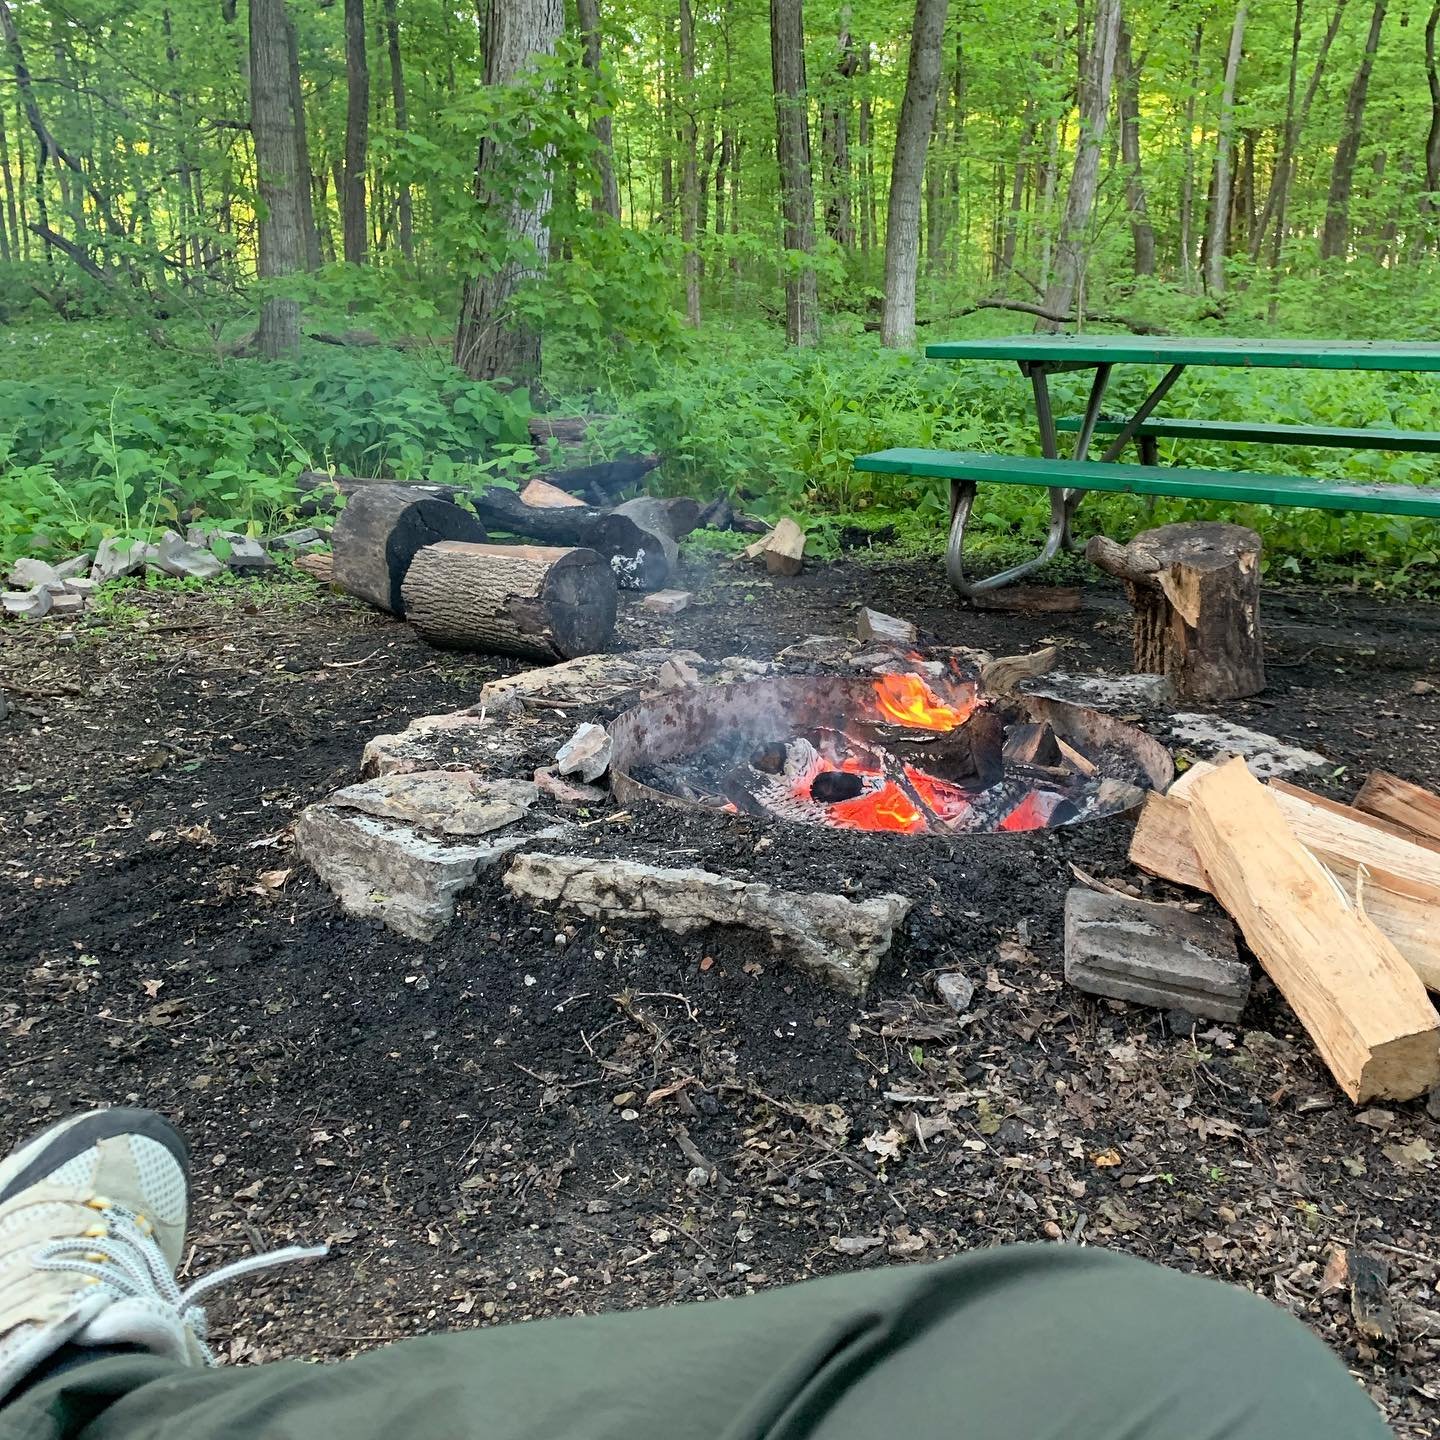
1. Choose the Right Firewood
While seasoned wood is dried out for a long time and has only around 20% moisture, green wood is freshly cut and deposits lots of moisture, making it hard to burn.
You may know hardwoods are denser and burn longer. They come from deciduous trees such as oak, white ash, and maple.
But softwoods ignite quickly and burn faster, extracted from coniferous trees like pine and fir.
The best firewoods for campfire include oak, hackery, birch, maple, and cherry.
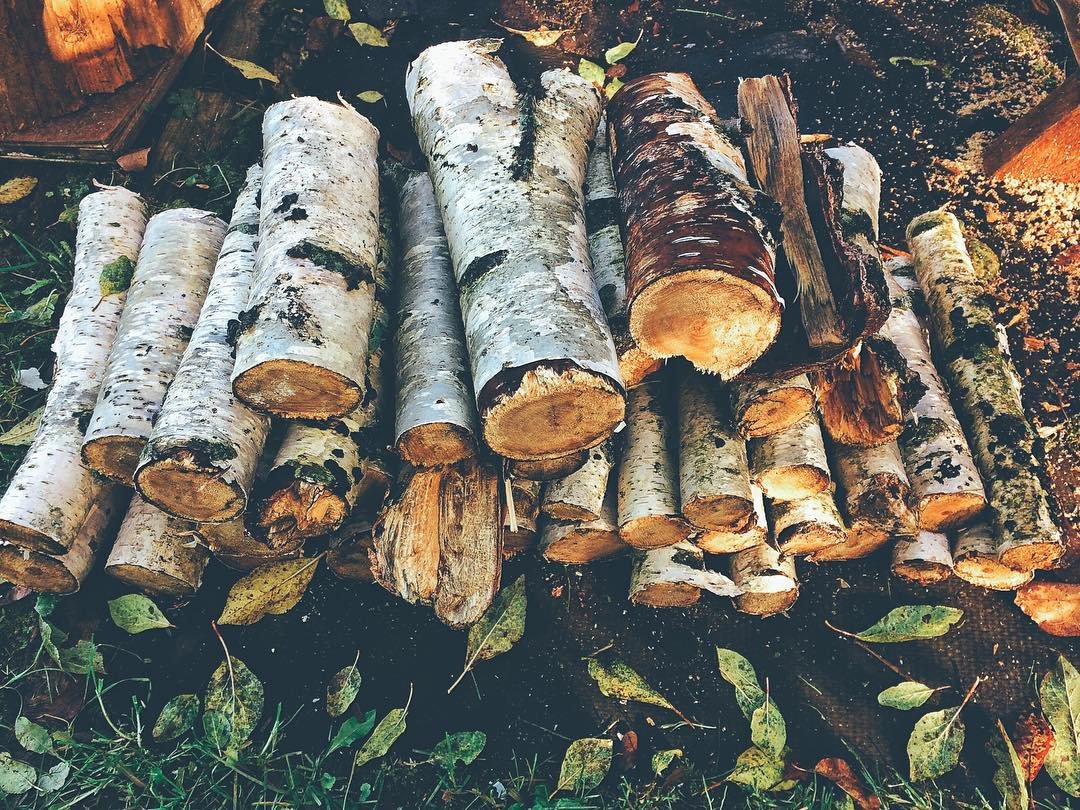
I sugges you use softwood first to ignite and add hardwoods to make them burn longer. Avoid green, treated or resinous woods and drifted wood.
Ensure that you collect the seasoned wood, cover it, and keep it above the ground to avoid moisture.
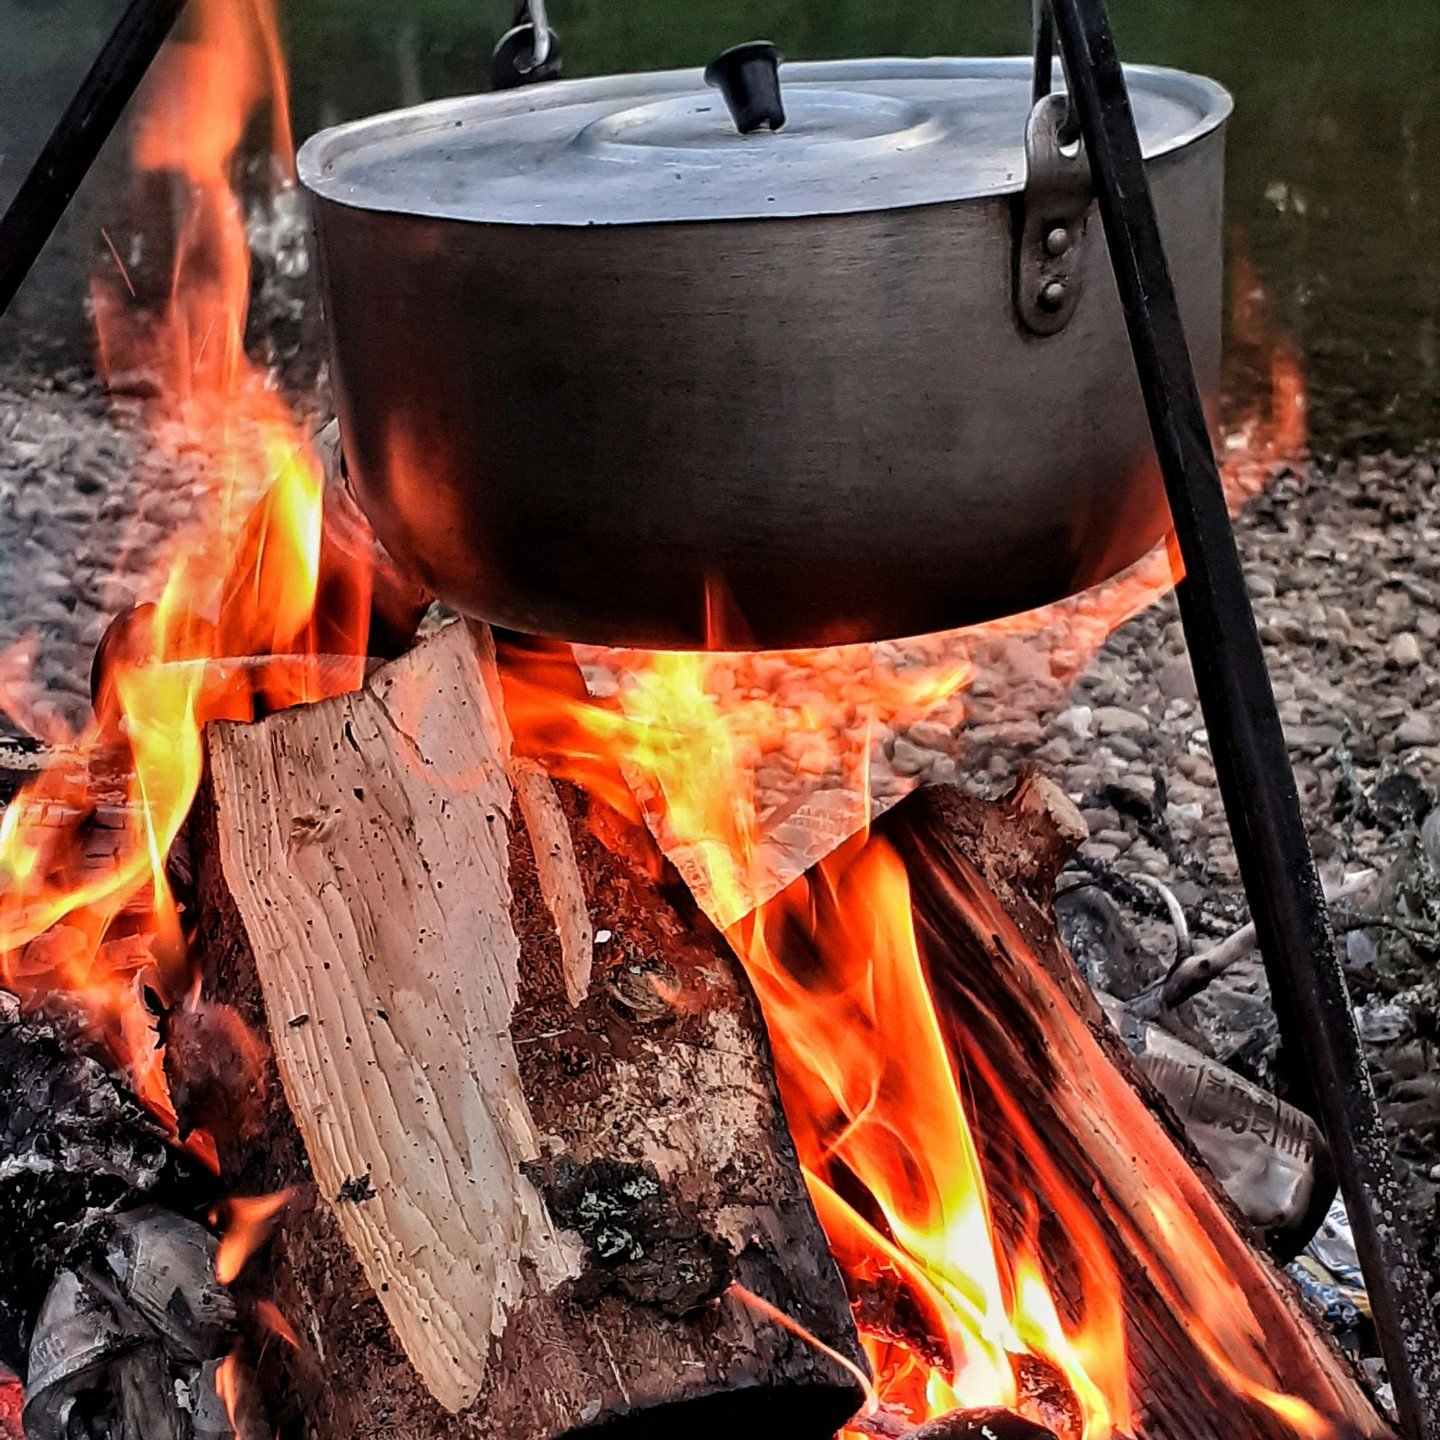
Also, don’t make haste to cook food. Let the campfire burn down to hot embers first.
2. Use a Campfire Grill Grate
The grill grates are simple and useful cooking stands over an open fire or campfire.
They provide a safe and stable surface to grill over the firepit. You need only to place the pan or other cooking pot on the top.
There are different types of grill gates, such as folding grill grates, grill grate folding legs and net covers, and swing grill stands with grill grate sets.
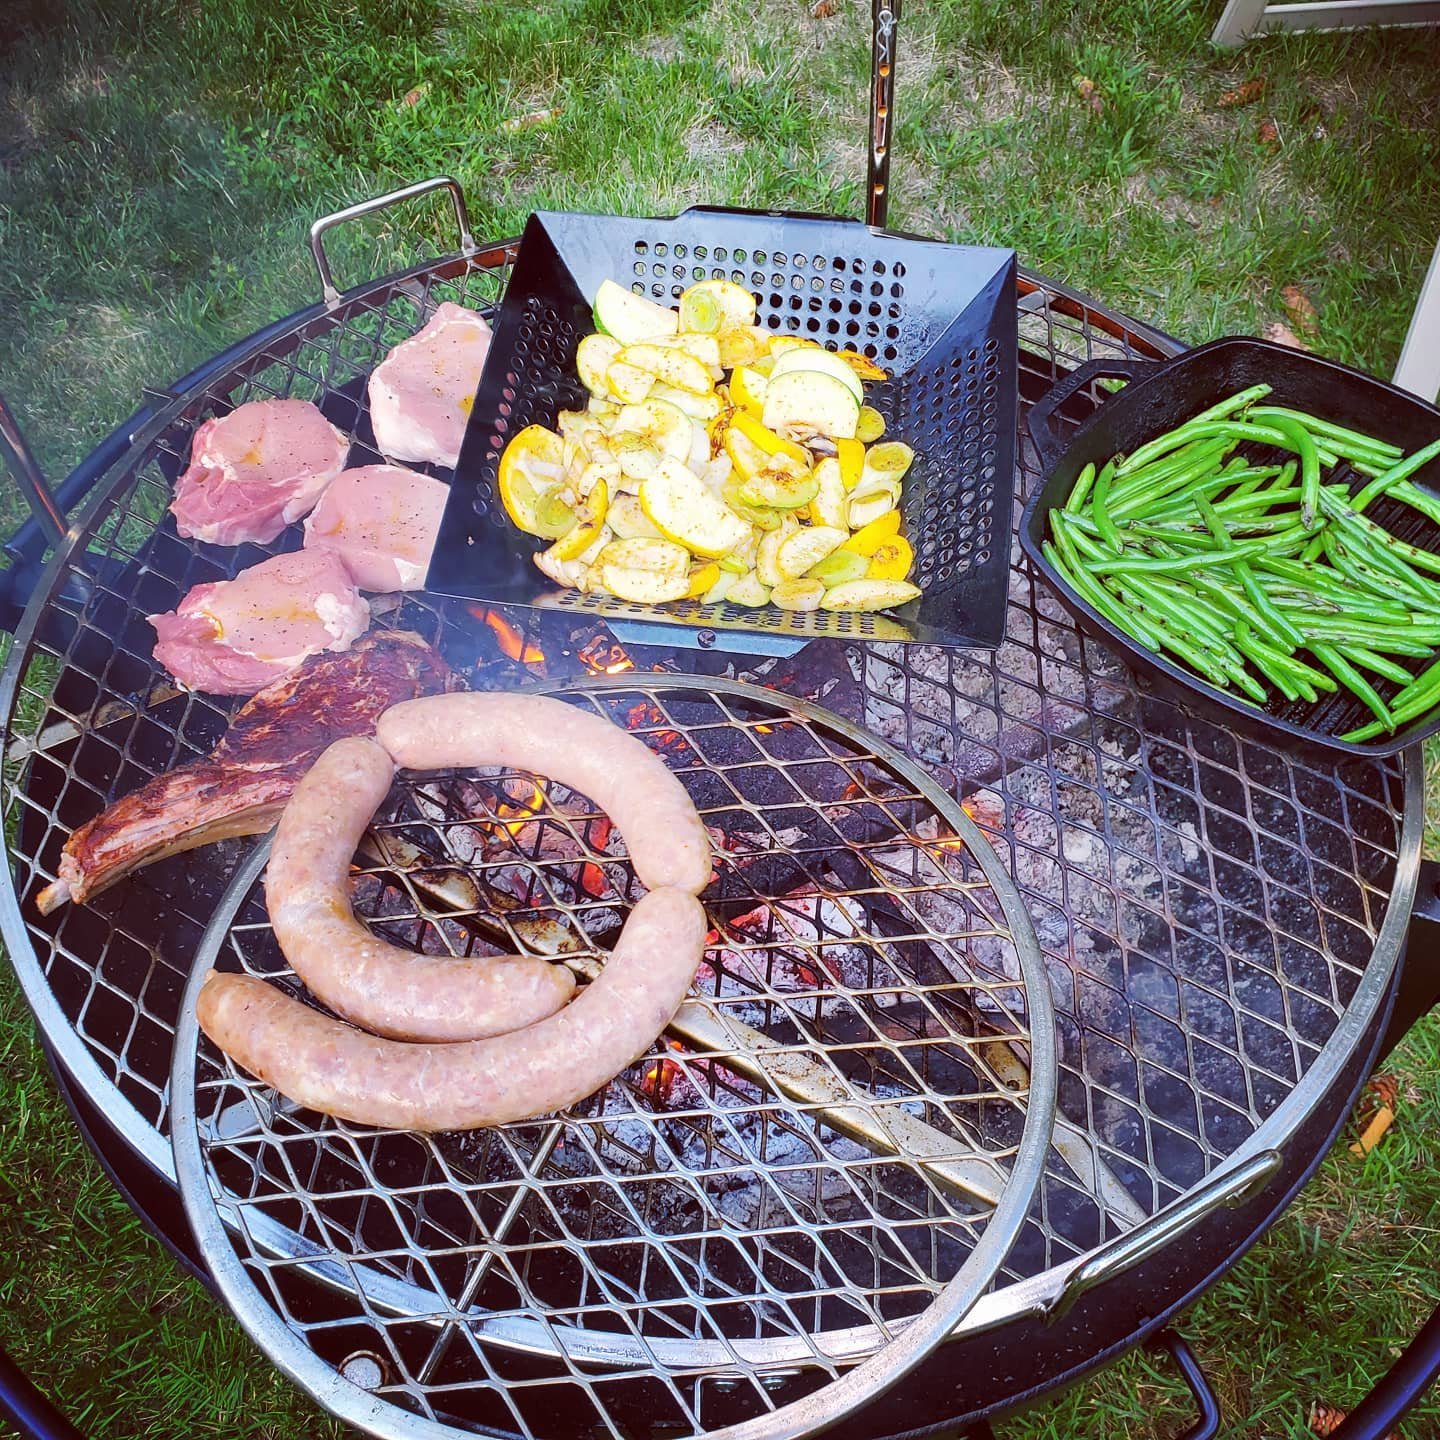
I recommend you keep portable campfire grates or tripods.
When using grill grates, don’t cook bacon or anything that produces a lot of fat drippings. They can spark too much flame on the grill grates, reducing the life span of the tool.
To start the process, apply high-heat cooking oil, such as canola or peanut oil, on the grill grates.
Wipe off additional oil with a piece of cloth or paper towel.
After using it, you need to clean your grate for a long lifespan. I often soak the grates in a garbage bag filled with water and with a mixture of vinegar and baking soda.
Then, I scrub off the dirt or debris with a sponge and hang it to dry.
3. Master the Art of Cooking with Foil Packs
Foil packs are aluminum wrappers in which you can put a meal, including seasonings and sauces, to make a tightly sealed packet that traps temperature and flavors.
This makes it an easy way to cook while camping or grilling outdoors.
You don’t need a heavy pan or pot. Foil pack meals are heated on a metal grate over the campfire or a portable grill.
Also, they are mess-free and cooked evenly on live coals. After withdrawing the meal from the foil, you can throw it in the dustbin.
Whether you’re veg or non-veg, you can make different food items in the foil pack, ranging from vegetables and meat to dessert.
Shrimp Boil, Kielbasa and Potatoes, Lemon-Dill Salmon, Salsa Verde Chicken, and Rice are some of my favorite foil pack meal recipes.

I suggest you separate acidic ingredients such as citrus, tomato, orange, and vinegar from the food until you reach the campsite and start cooking.
They can change the taste of the meal, making it sour.
Also, make sure the foil packets aren’t leaking during backpacking. Sometimes, they accidentally leak the juice out of the pack, ruining your gears.
Also, use heavy-duty foil and double wrap to prevent tears during flipping on the coals or grill.
4. Prep Meals Ahead of Time
You have enough resources and time to prepare the ingredients and are ready to cook at home rather than at a campsite.
It’s easy to chop vegetables, marinate meat, or make dough for bread.
I always carry sliced onion, pepper, or any other ingredients that cannot be squeezed out. Also, let me tell you my hack.
If you want to add eggs to your campfire meal, simply crack them and pour the yolk and white into the bottle. So, prepare as many ingredients and foods as you can at home.
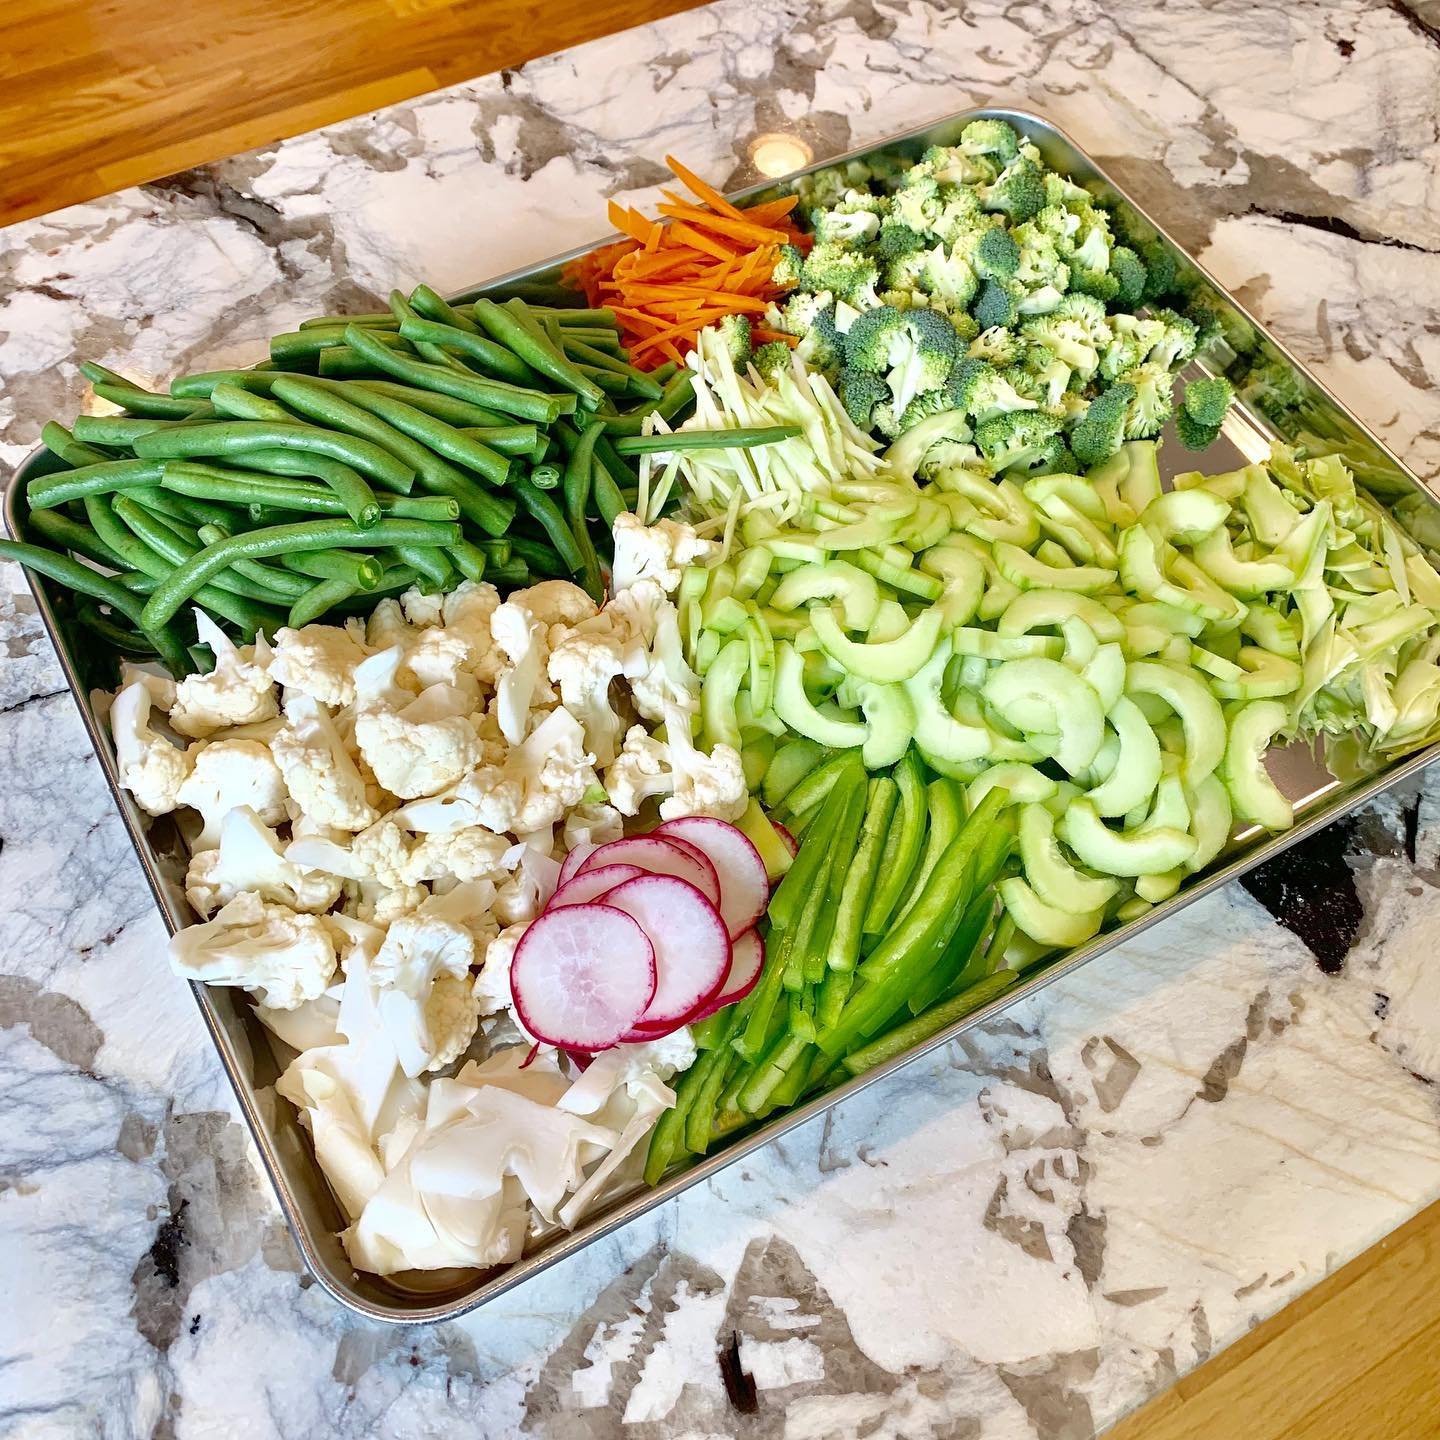
This helps you save time, reduce mess at the campsite, and makes you stress-free when cooking.
You need not rush to and fro to bring the raw ingredients to chop or run for a spatula. You will enjoy cooking the already prepped food based on recipes with utensils within your reach.
If you have already made meals at home, you only need to warm or reheat them and enjoy other campfire activities.
When packing the prepared food or ingredients, you can use labeled ziplock bags or containers.
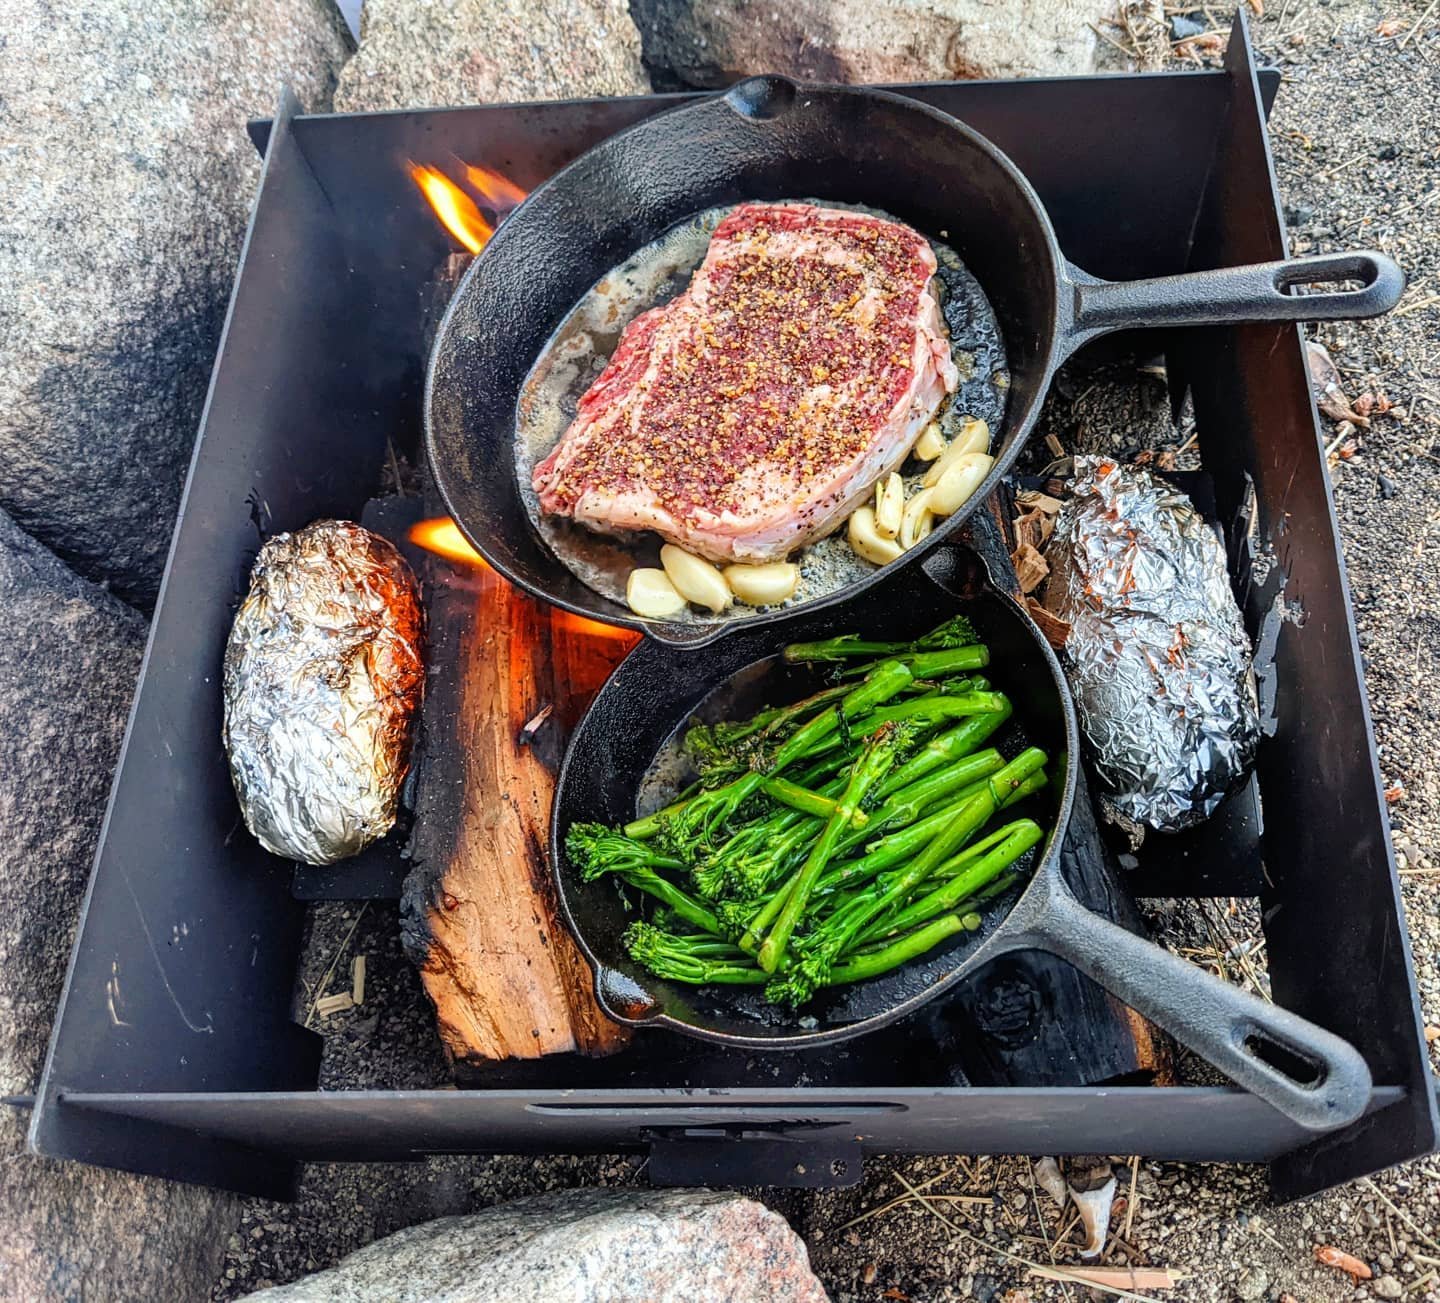
5. Always Have Cast Iron Cookware
I say, cast iron as it can withstand high temperatures, rough handling and direct contact with flames. If you can maintain cast iron pieces, they can last for generation.
What I like most about them is that they have excellent heat retention.
It means your food stays warm for a long time so you need not hurry to gobble up the entire meal.
Cast iron cookware is also versatile for different purposes ranging from grilling, baking, frying to sautéing, boiling and roasting.
With that said, it allows you to create different recipes, including crispy bacon, stuffed patty melt, ranch steak, and campfire desserts.
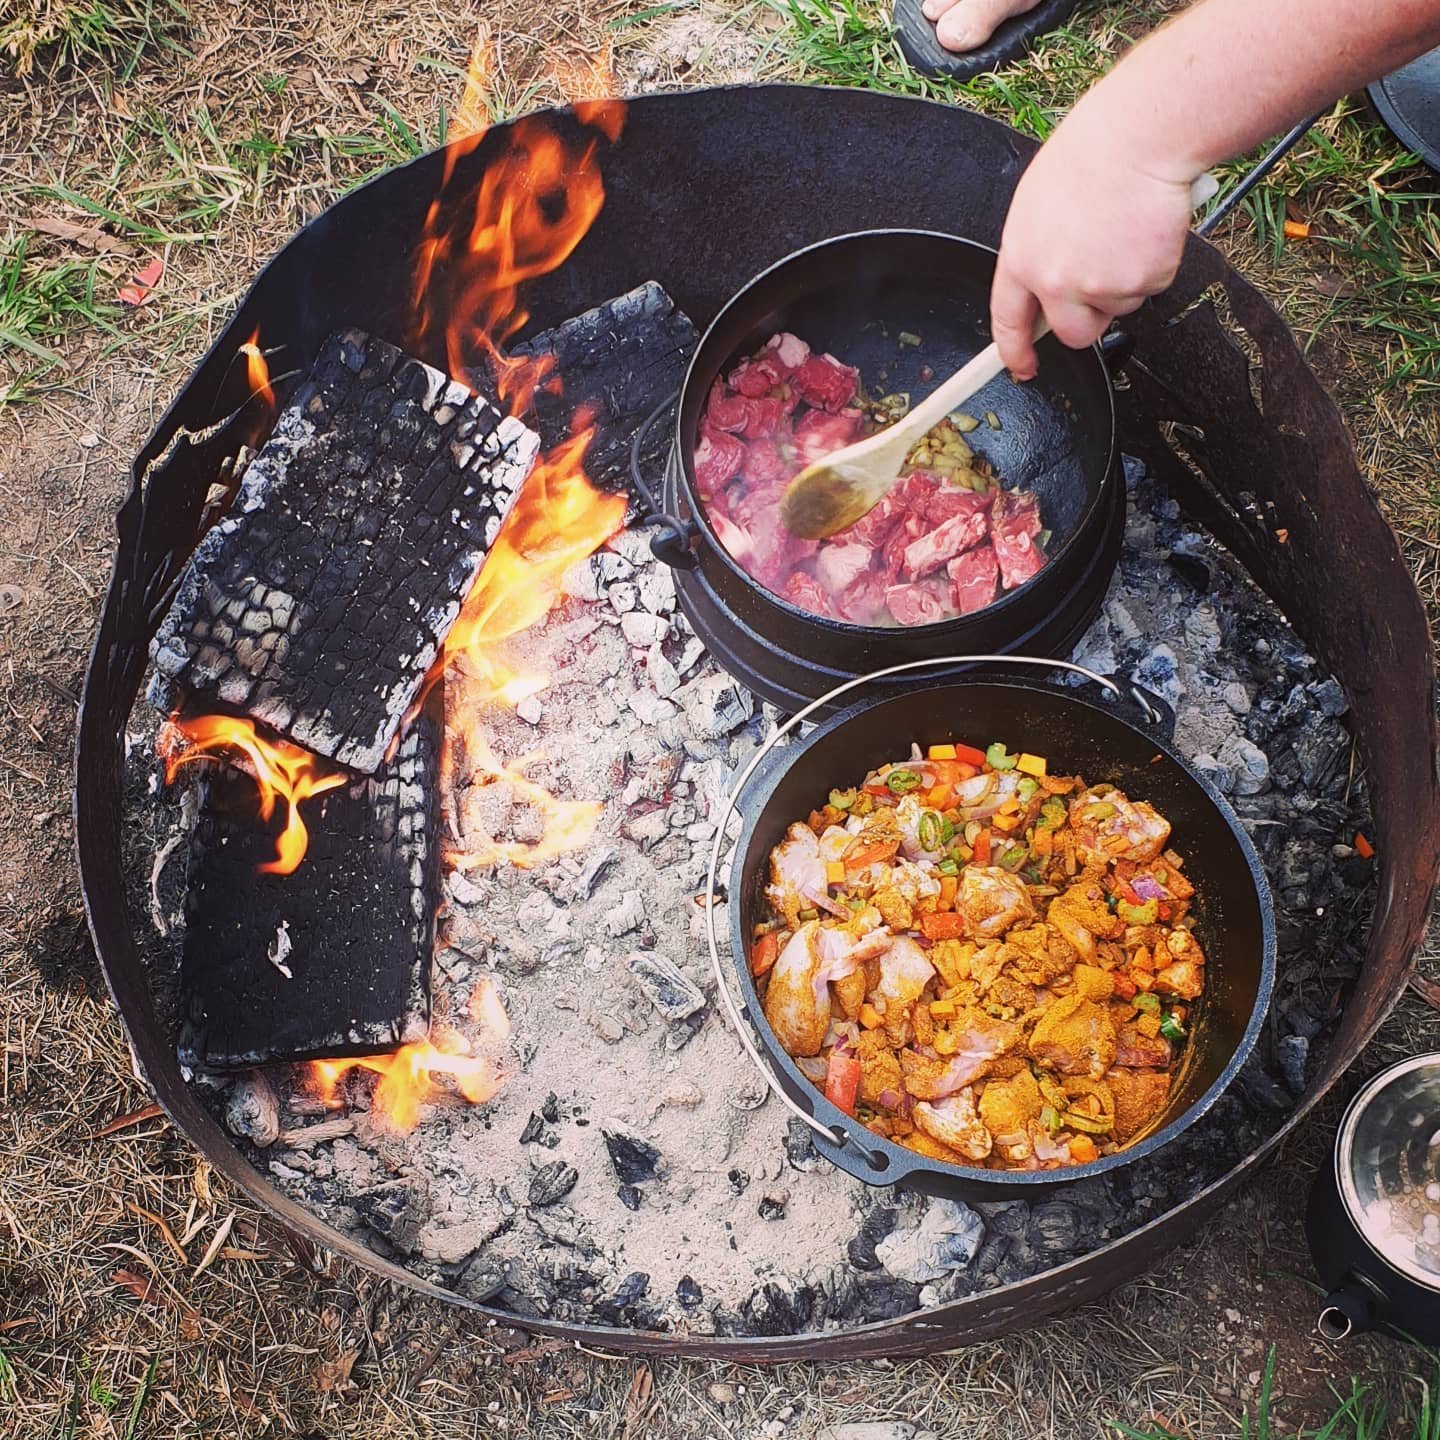
You can also cook breakfast Skillet, one-pot chili, and campfire cobbler.
My go-to iron cast cookware includes a skillet, a Dutch oven, and a griddle.
The seasoning plays a great role to release depth of flavor to your food. Be it searing a juicy steak or making a hearty stew, it can support many. And I love smoky richness that icon cast provides.
If you have seasoned the cookware properly, you don’t need a lot of fat to cook.
After cooking, you need to allow the iron cast cookware to cool down, keeping it aside.
Then, you can scrape off the debris or food residue and brush it with warm water. Don’t use soap as it can remove seasoning.
First, dry it thoroughly and apply some oil to protect it from rust.
6. Control the Heat Zones
Cooking on an open fire is always challenging, but controlled heat zones help you cook several foods at a time simultaneously and singly.
Here, heat zones refer to an area of your fire pit that is hotter or cooler than the rest of the campfire.
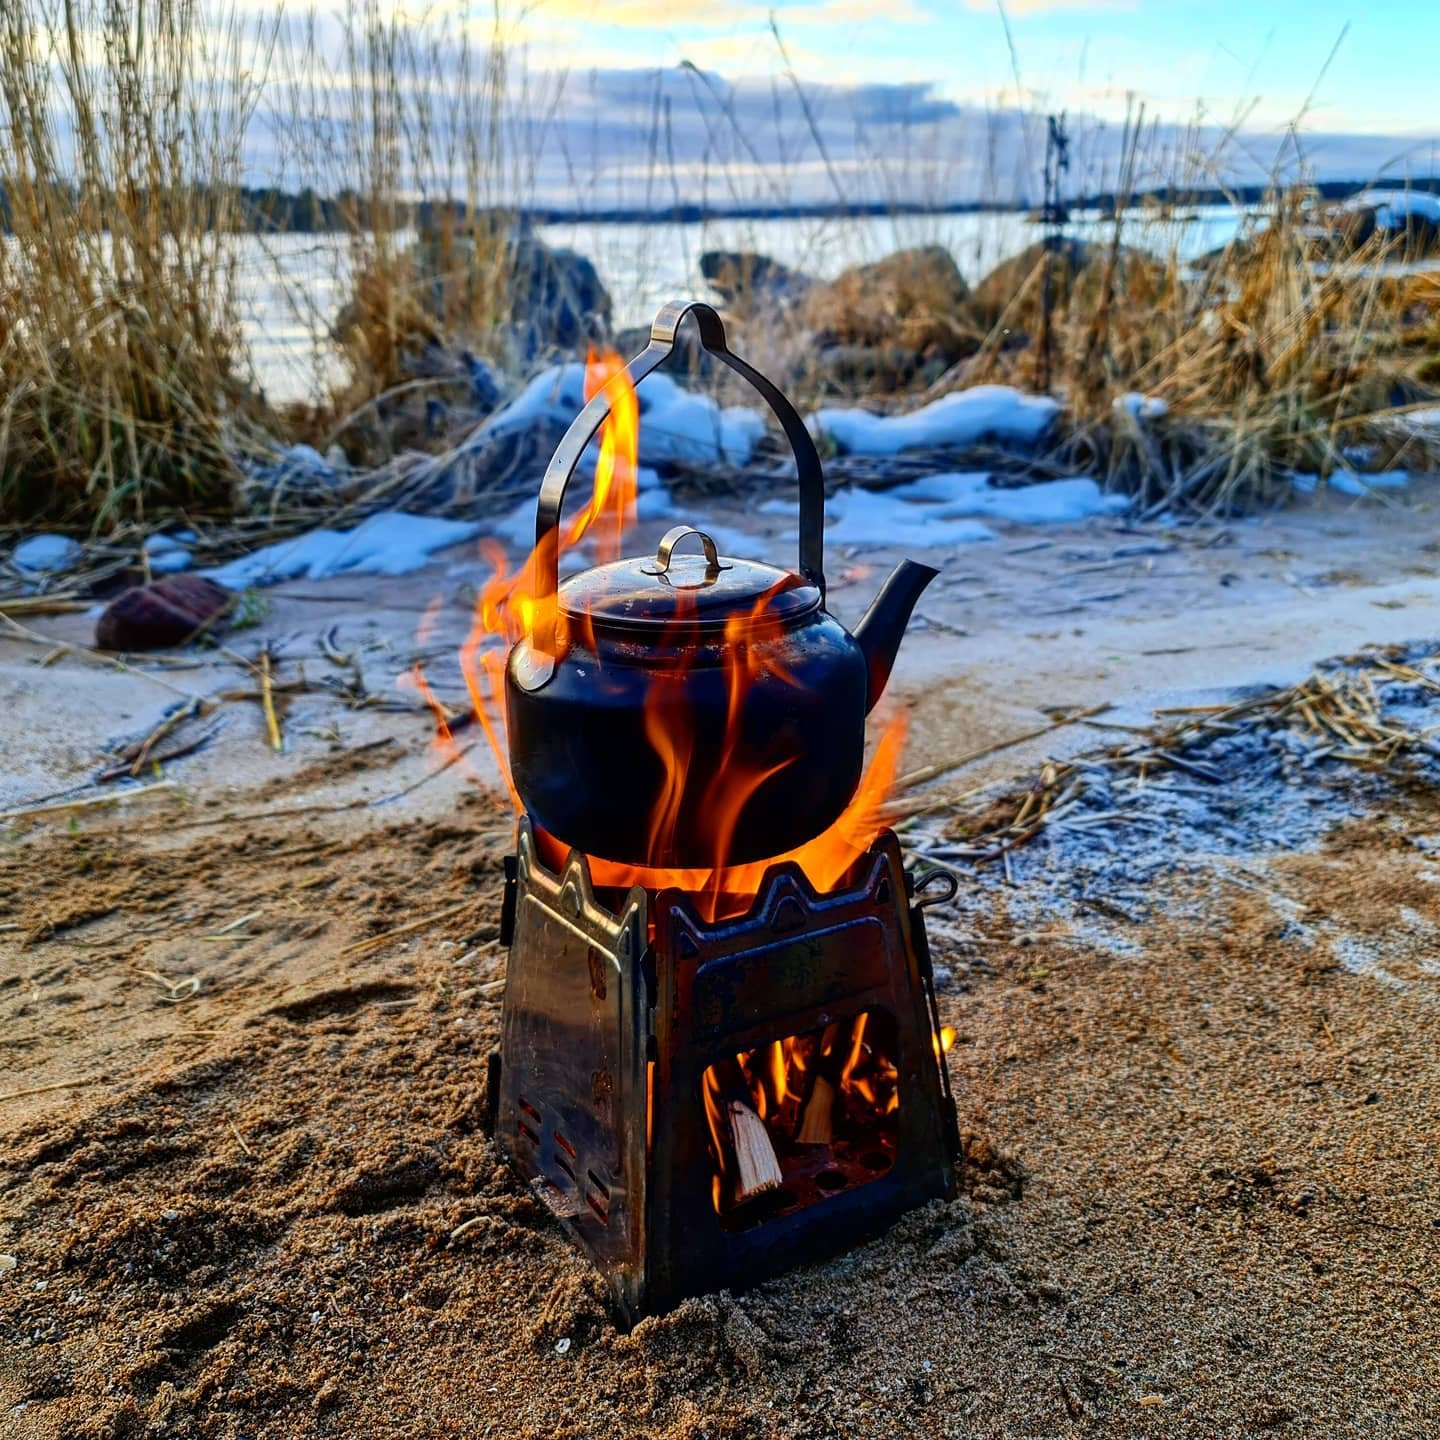
You can set up three heat zones around a campfire. In zone 1, logs constantly burn, creating a bed of glowing embers at the back of the fire pit. These flames are perfect for boiling kettles for tea or coffee and water for blanching ingredients.
They also provide options for cooking grains, rice, and pulses.
When the wood burns down to live coal, it should be to the side of the fire, creating zone 2. This offers grilling, browning, and searing.
I suggest you try fish, burgers, steaks, and skewers for quick and direct grilling.
Zone 2 also supports pan frying and most skillet cooking, spit roasting, and asado cross.
If you need coal baking or indirect cooking, such as big joints or simmering, you may wait for zone 3, which is at the front third of the pit.
This also supports Dutch oven cooking.
If you need a more organized campfire, you can shape it in the keyhole fashion, surrounded with stones. It has a slot towards the direction from which the wind comes, and flat rocks of equal height on each side.
You can use high heat for boiling or searing, medium heat is perfect for sautéing, and low heat is perfect for slow cooking.
If you are only a beginner, never cook over open flames; cook over embers instead.
7. Don’t Forget the Cooking Tools
You can backpack cooking equipment based on your needs and how you carry it to the campsite.
I tell you, my must-have tools include tongs, heat-resistant gloves, a spatula, and campfire skewers, along with iron casts.
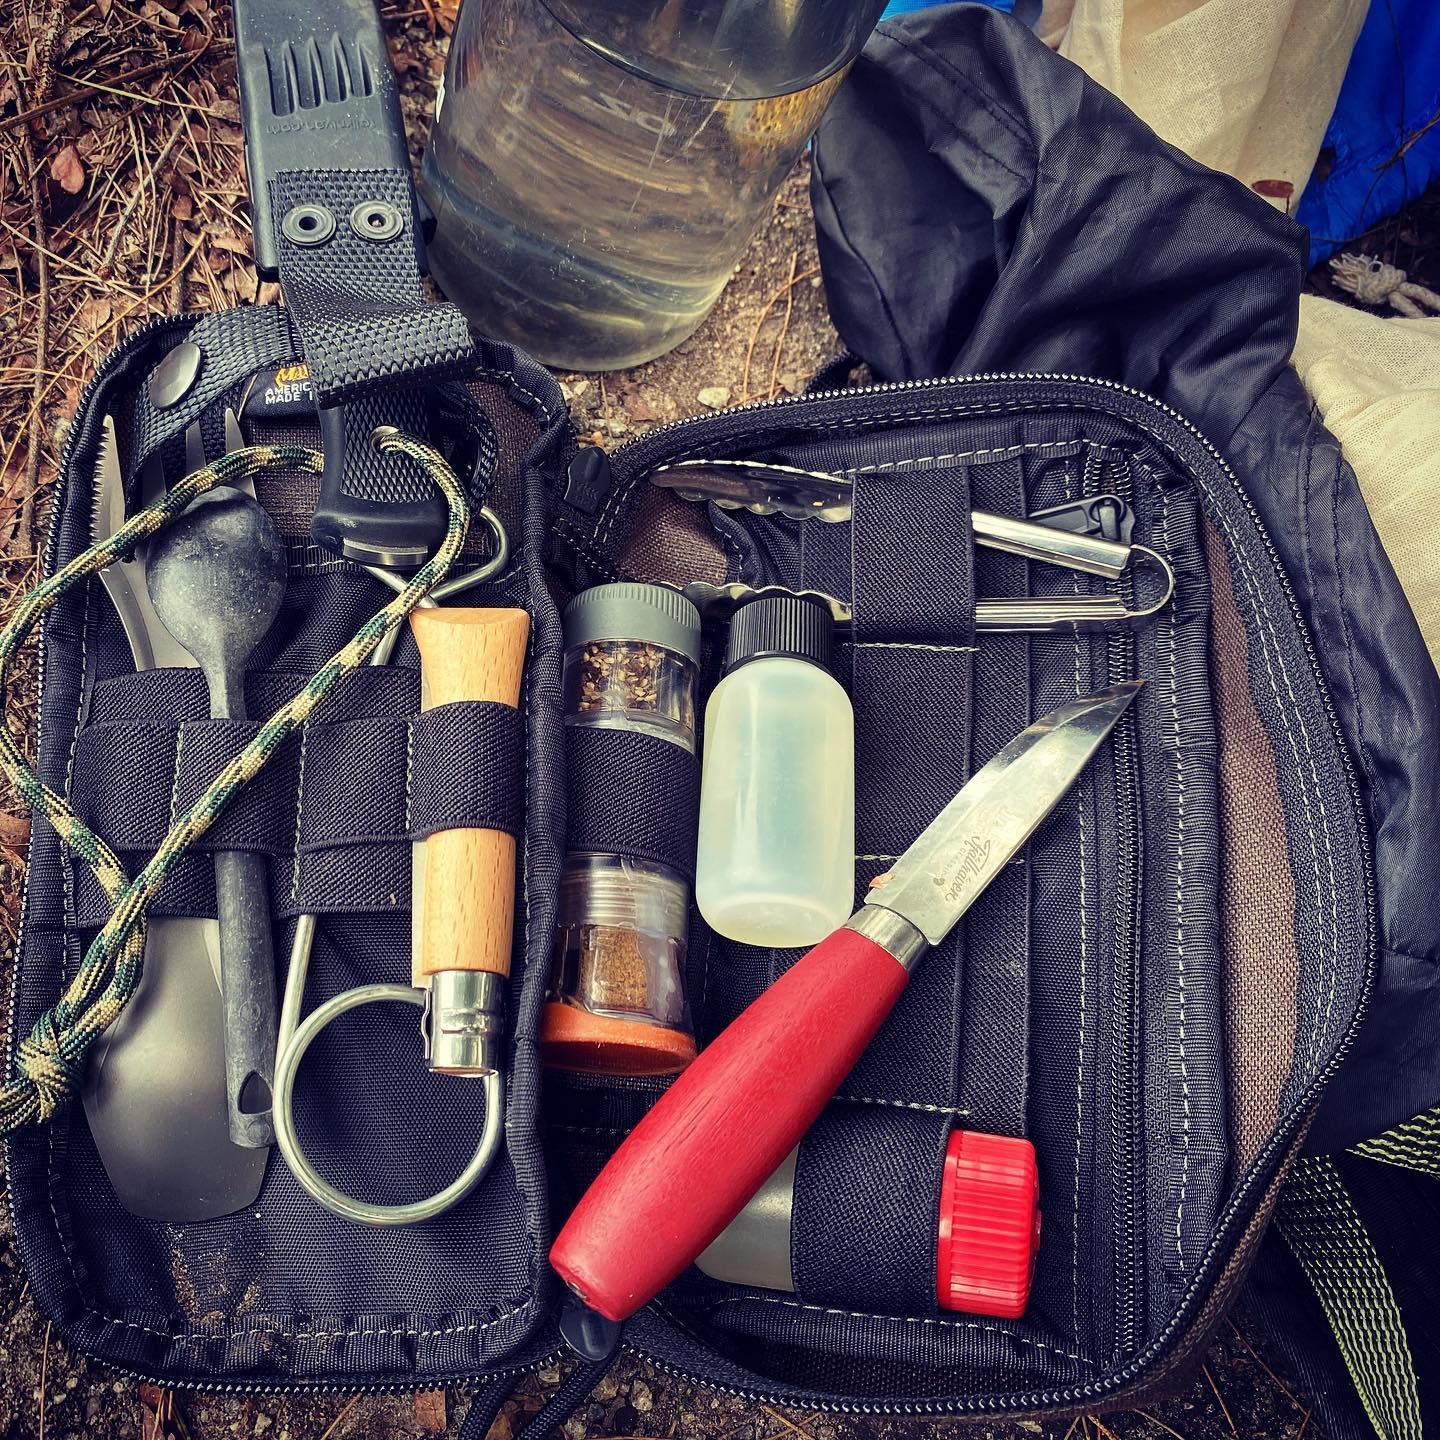
You can also bring a collapsible sink, spices, a toaster, a rotisserie, a pie iron, a popcorn shaker, an outdoor kitchen set, a water jug, etc., if you’re on RV camping or car camping.
Besides, it will be more than camping in backyard facilities with a heat-safe surface like a fireproof table mat or board.
I suggest you also take a small meat thermometer.
This helps you measure the internal heat inside the meat to enjoy a delicious meal and avoid food-related illness.
8. Keep It Simple, Especially on the First Night
I don’t recommend you try all your cooking skills on the first camp night.
Fatigue and late arrival might have already made elaborate meals impractical. You only want a nice sleep and wait for the next morning.
So, you can make easy meals on night one such as pre-cooked chili, canned soup, or hot dogs.
Also, save the gourmet dishes for the second day, including Mac n’ Cheese, Paella, and S’more.
9. Practice Campfire Cooking Safety
First, you need to have local permission for a campfire. If allowed, you need to create a fireplace in a designed shape using stones or a fire ring.
Don’t overbuild the fire and a teepee or log cabin-like structure.
If it’s windy outside, reconsider starting a fire or stack extra wood upwind from the fire to create a windbreak.
You shouldn’t go close to the pit of fire, but instead, you can use roasting forks that are 24 inches or longer.
Besides, the heat from the campfire can burn your skin while cooking. So, you can wear pants, a full-sleeved shirt or jacket, closed-toe shoes, and a pair of gloves.
Always be prepared for unexpected events, so keep a water bucket or a fire extinguisher on hand. Don’t leave the fire unattended.
If you have kids on the trip, adults should supervise them, especially around the campfire.
When handling foods, keep raw and cooked items separate.
10. Clean Up Smart and Leave No Trace
After camping and using fireplace, you should try to make a campsite as it is as you have found it before.
Burn all the wood used in the campfire into ashes and make sure the fire and coal are not active. To check it, dig through the coals and ashes.
Scatter all when they are cold.
Spread them in the wider area and when doing this, you need to watch for wind direction. Also, disperse unused timbers in all direction.
Don’t bring the wood from the trip home; it can also invite pests and bacteria.
Don’t destroy rocks, plants, and other natural objects; leave them as you find them. Also, never build structures, furniture, or dig trenches.
Dispose of all the trash or spilled food. Don’t leave food for wildlife, feed them, or approach them.
Instead, you can pack out all the leftover food for yourself during the trip home. Toilet paper and hygiene products can be also used at home.
Also, bring the non-biodegradable trash, such as tin cans and plastic bottles.
Always keep washing dishes away from water sources and use biodegradable soap and compact cleaning kits to make less impact.
I often scatter leaf litter on the campsite so that I can ghost my footprint. This helps other campers get the place as it is.
Keep eco-friendly habits and Leave No Trace principles.
Final Thoughts
Whether you’re a beginner or seasoned camper, a plan is necessary.
I often map out my schedules and activities before starting the campfire. Depending on my cooking needs, I measure the timbers and begin with a small fire.
Also, start the campfire early at dusk, as it takes time to turn into a coal to cook and roast.
Leave a Reply